
I’m so happy to hear that more people are getting out there and chasing the Northern Lights! Watching the Aurora Borealis dance in the sky is truly a mind-blowing phenomenon and every traveller should definitely chase them at least once.
You don’t have to be a pro to capture the Northern (OR Southern) Lights on camera – just follow these 8 Critical Steps and you will be well on your way!
1. DSLR Camera in Manual Mode
It sounds scary the first time you flick that switch over to “M”, but that’s where all the fun begins! #nerdmoment #notsorry There are really only 3 things you need to hunt down in the menu: Aperture (f/stop), ISO, and Shutter Speed.
2. Start With These Settings
Aperture (f/stop): The widest aperture your camera is capable of (i.e the lowest f/stop number). On my current basic Canon EOS 70D, the widest aperture is f/3.5
ISO: 1600 – this number depends on how bright the Aurora are (if they’re dimmer, increase the ISO) and how your lens responds to light. Because you’ll be shooting in low light, you’ll need to bump up the ISO, however if you go too high, your photos will look more grainy, so be sure to check your test shots.
Shutter Speed: 20-30 seconds. Again, this will change depending on how bright the Aurora are and how much movement you want in your shot.
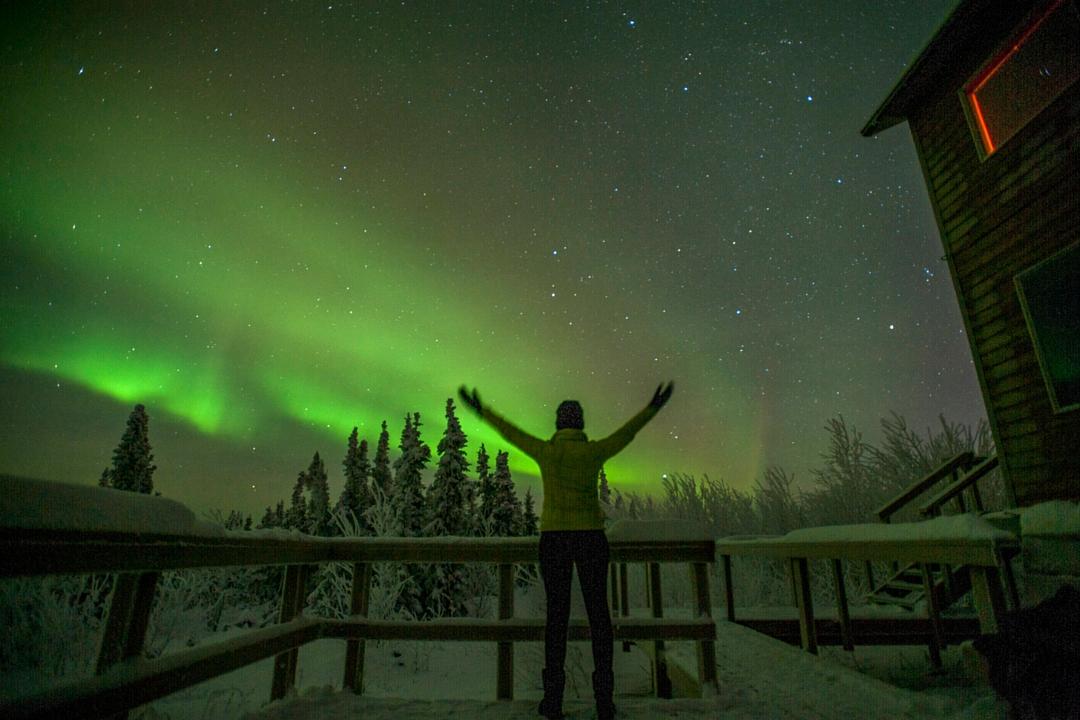
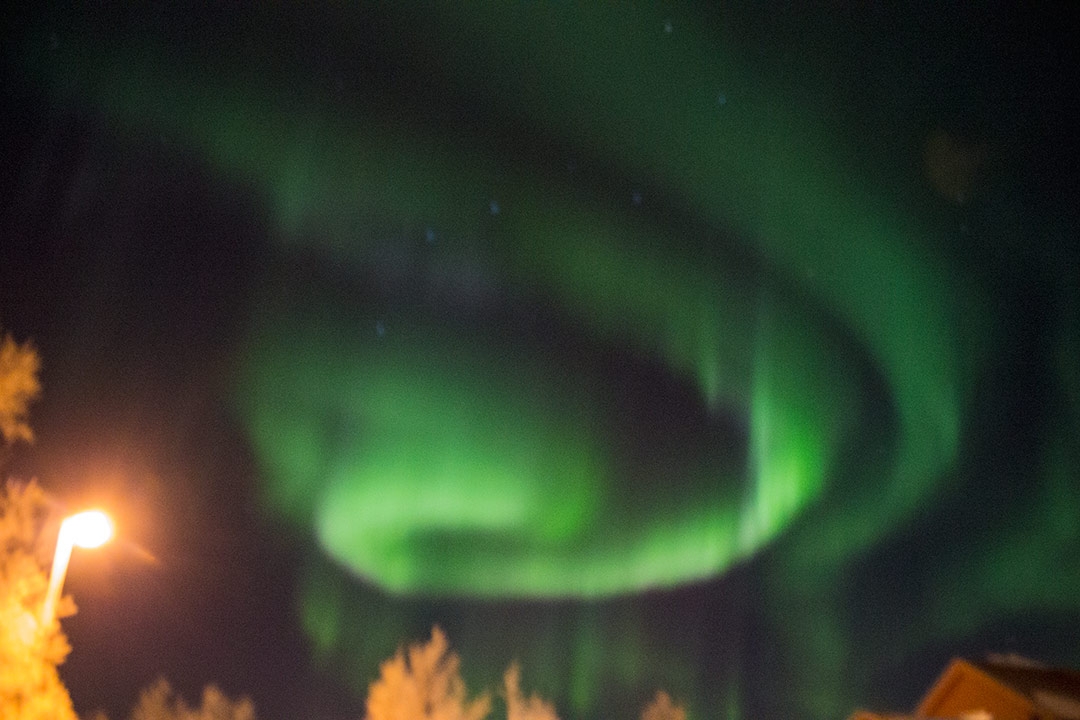
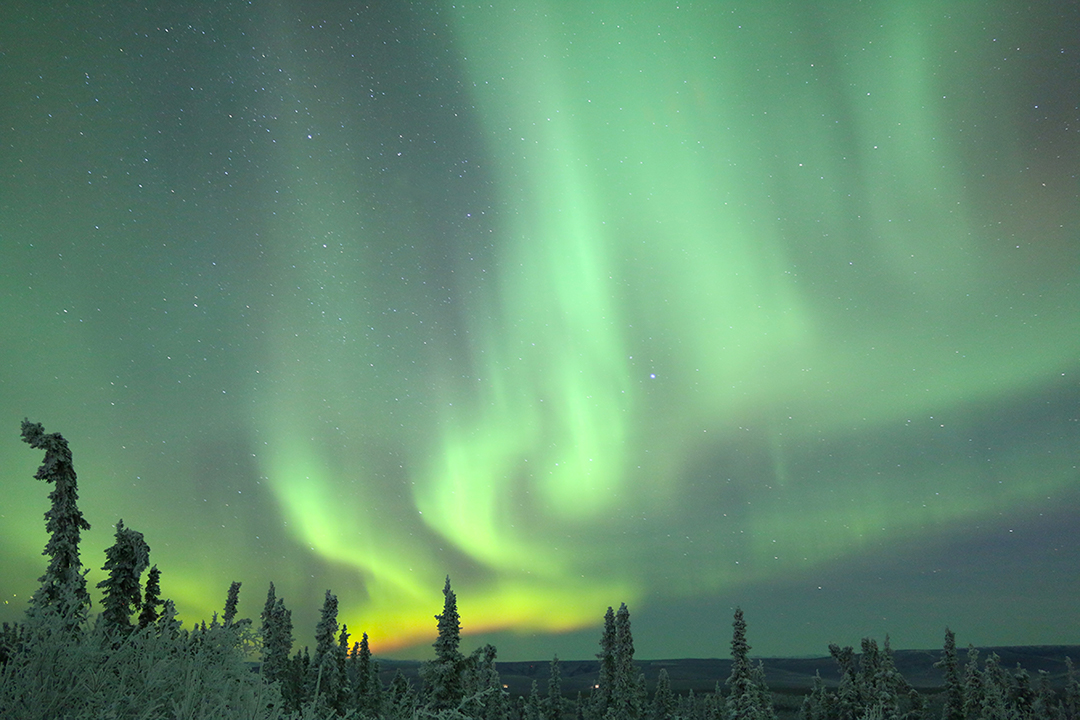
3. FOCUS
OMG, I still bang my head against a wall when I look back at photos from my first Aurora trip. I had researched a fair bit on #2 but completely messed up #3. Focus is quite possibly the most important factor. The best way I can explain this is in pictures. My first Aurora sightings were in Sweden and Iceland on my trip to Scandinavia over Christmas/New Year 2014/15. Below is quite possibly the best Aurora photo I took from that trip (heartbreaking I know…). The other image is one of about a thousand photos from my Alaska trip in November 2015. The camera and lens are exactly the same! SO, the easiest way is to switch to auto-focus and find something super far away during the day (or a bright light in the distance at night), then put some tape on your lens so you can’t bump it and flick back to manual-focus (this is important as your camera will then attempt to refocus in the dark and refuse to take photos if you leave it on auto!). Zoom right in on a test shot to make sure its in focus and then leave it!
4. Tripod & Remote Shutter
These two accessories will stop you from having a blurry photo. Even if you think pressing the shutter button REALLY carefully is okay…it’s not. I also learnt this the hard way! As a backup, you could use a ledge to rest your camera on, and the self-timer mode – but a tripod and remote shutter make life a little easier.
5. Shoot in RAW
Your camera will probably automatically shoot JPEGs, but it’s much better to shoot in RAW as there’s so much more data in the image that you can play with in post-production. (P.S. RAW images take up way more space too, so bring a spare SD card!)
6. Do Your Research
By this I mean two things. Firstly, yes, some places are geographically more likely to have Aurora sightings, and the time of year can play a part, so download one of the many apps that send aurora alerts. But catching a glimpse of the Aurora Borealis or Aurora Australis can be a game of pure luck! So do your research on all the other amazing experiences you can have while in these magnificently beautiful parts of the world. Usually you’ll find yourself at quite extreme latitudes in cold climates with loads of snow – so why not try dog sledding! (Here’s a sneak preview! More videos to come in a later post – YAY puppies!).
I hope these 6 critical steps to capturing the Northern Lights help you to have more success than my first attempt! There’s so much mumbo jumbo out there on the internet, so I’ve tried to simplify things a bit. If you’ve got any other questions about the above, please let me know in the comments below or on Facebook. These steps can also be used to photograph the Milky Way!


Hi Bry! Spotted you on FB today – sorry I haven’t got any ideas about your images hulking out but I hope someone did!
As to your blog, it is GORGEOUS! And I love your destinations and stories, with some really helpful info. This post appeals in particular because I’ve been fiddling around with night shots for ages and still haven’t quite got the hang of it. Focus is a major issue, as is my Nikon being now over 10 years old and not very good in low light at all. Your second Aurora pic is stunning, and you managed to get foreground AND background perfectly focused. I’ve done the focus on distant object in daytime trick too which works but then if I have points of interest in the foreground (like a silhouette) it’s fuzzy as all get out. I want so bad for my shots to get better, but I really think I might just need to upgrade my camera body.
Very happy to run into you!
Author
Hey Michelle! Thanks for your comment and lovely compliments I love night photography too, I see you’re from around my way – I’m sure they’d be some great spots out in the Gold Coast hinterland. I’m headed out there in 2 weeks time, will definitely try capturing the Milky Way – and the glow worms too, if I’m lucky!
I’ve just bought a new wide angle lens which is super sensitive to low light; loving it. However, when I was in NZ last month, I bumped the focus ring. Worst. It was pitch black too. I was used to focusing in the dark with my old lens, but not this one haha finally got it sorted, but bleh. Time for a new camera body? How exciting! Any ideas? Do you have any of your Astro photos up on Instagram etc? I’d love to see
Hi! Amazing photos! i was wondering, I have also a Canon EOS 70D, which lens did you use when shooting the northern lights? xx